LedLightsFlickering profilja

- Statisztika
- 0 hozzászólást írt
- 0 témát indított
- 0 véleményt írt
- 0 cikket írt
- 0 barátja van
- 0 szavazatot kapott
- Csatlakozott
- 2023. április 15.
- Csoport
- Tag
- Titulus
- új tag
LedLightsFlickering még nem állította be a státuszát

Mi újság nála?
Még nem történt vele semmi.
Bemutatkozás
How to Repair Damaged LED Lights: Restoring LED Strip Lights in 5 Simple Steps!
Accidentally cutting your LED strip lights can be a heart-stopping moment. But fear not! You have the power to fix them yourself and bring them back to life.
Can You Repair Cut LED Lights?
Absolutely! You can repair cut LED lights by soldering the connections together or using a connector to restore the circuit. However, if the lights have been cut too close to a connector, you may not be able to fix them. In that case, you’ll need to purchase new LED lights.
But if you’re lucky and the cut is far away from the connector, there’s hope! LED lights are incredibly versatile, allowing you to repair and replace almost every part, including a cut LED light strip.
All you need to do is assess the extent of the damage, locate the severed areas, and reconnect them to restore functionality. This may require additional components or tools, but your LED strip will be as good as new.
>> View more: To Buy
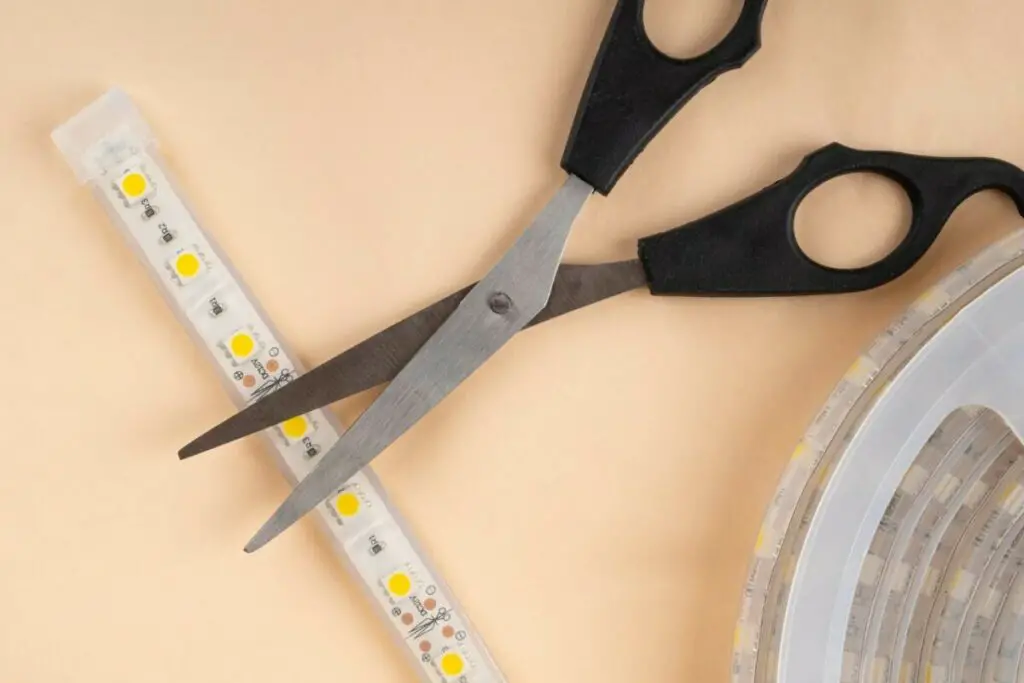
How to Cut LED Strip Lights Properly
To ensure neat and bright LED strip lights, it’s essential to cut and paste them correctly. Here’s how you can do it right:
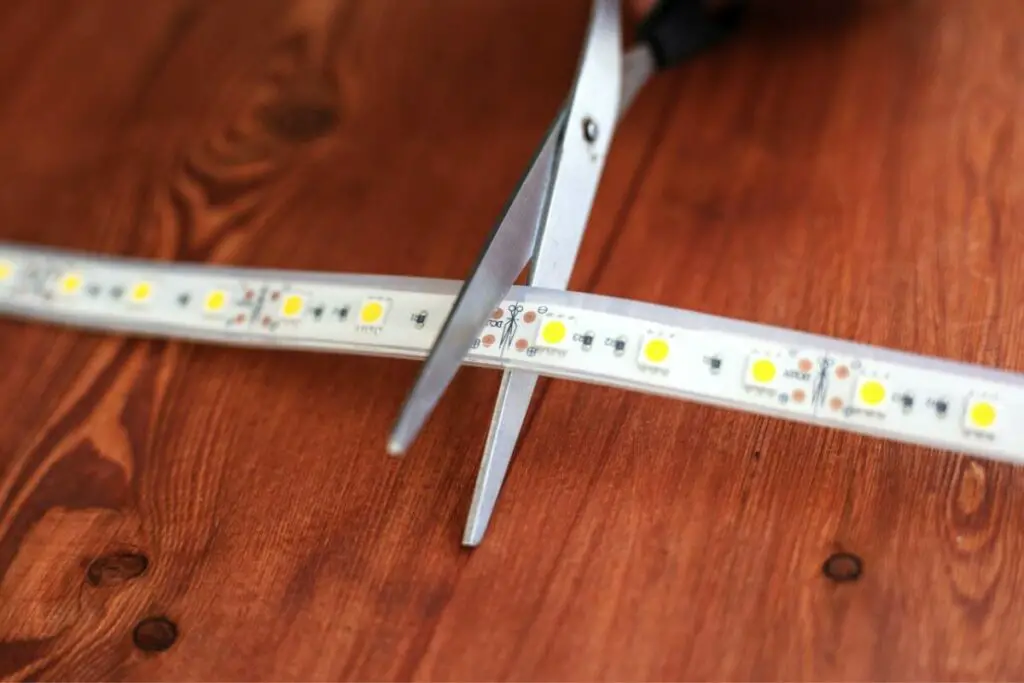
- Use a pair of sharp scissors to locate the scissors logo on the LED strip, typically a series of small dotted lines on the back.
- Cut the LED strip directly on the line indicated by the scissors logo.
- Be careful while cutting! If you accidentally cut it diagonally, both pieces will become useless.
Remember, it’s important to cut the strip only at the marked signs. Otherwise, you risk rendering the light strip ineffective, and you’ll have to figure out how to fix a broken LED light strip.
Steps to Repair a Cut LED Light Strip
Now let’s dive into the step-by-step process of fixing cut LED lights:
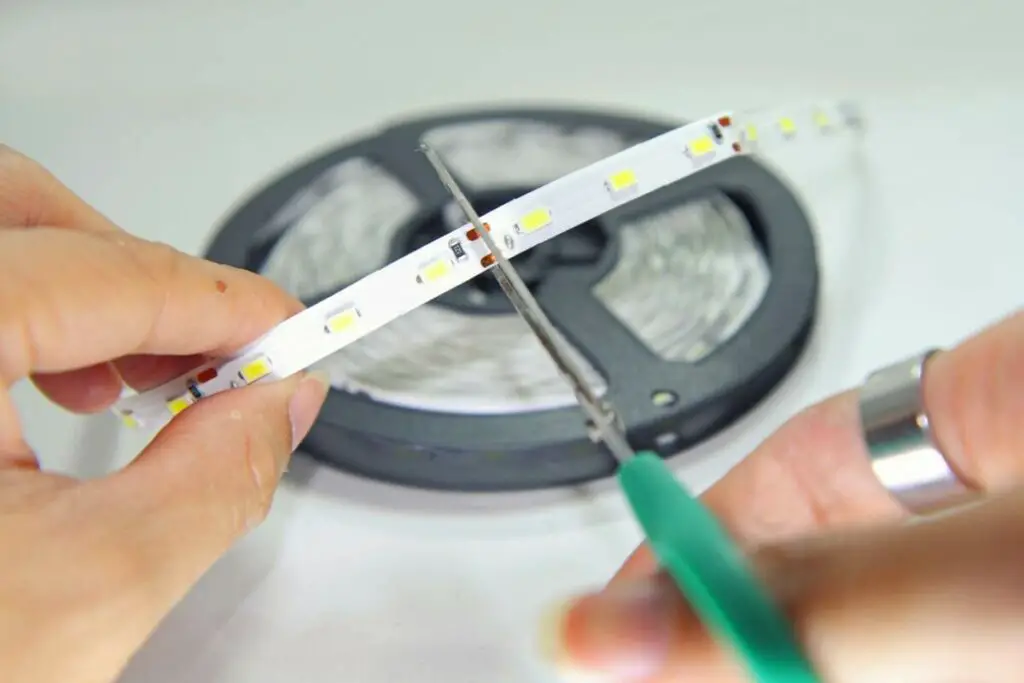
- Find the “cut sign” closest to the spot where you mistakenly cut the strip.
- Carefully cut the strip at that point.
- Get a piece of the leftover or new strip light.
- Place the two pieces side by side, ensuring that every color mark matches.
- Solder the four connections on the new strip to the corresponding connections on the original strip. Alternatively, use a 4-pin connector compatible with your to join the ends.
- Once the solder has cooled or the connector is securely attached, your LED light should be repaired and ready to shine brightly again.
However, if you cut the strip diagonally or incorrectly, the circuit will be broken, preventing the lights from functioning. In this case, your only option is to use the leftover strip or purchase a new one to complete the circuit and fix the cut LED light strip.
Using LED Strip Lights After Cutting
To use LED strip lights after cutting, follow these steps:
STEP 1: Find a 4-pin Connector
You’ll need a 4-pin connector to reconnect the cut ends of the light strip. This small plastic device has four pins that join the two cut ends of the LED strip.
STEP 2: Place the Light Strip into the Connector
Open the cover of the connector to access the pins. Insert the two cut ends of the LED light strip into the fastening clips of the connector, and then close the connector. Make sure the light strip is securely in place before closing the cover.
STEP 3: Clean the Installation Point
Before attaching the fixed LED strip to the wall, ensure that the installation point is clean and ready. Dust or moisture on the wall can prevent the adhesive strip from properly adhering. Use a damp cloth to clean the installation point, and if necessary, remove any residue from the previous adhesive coat.
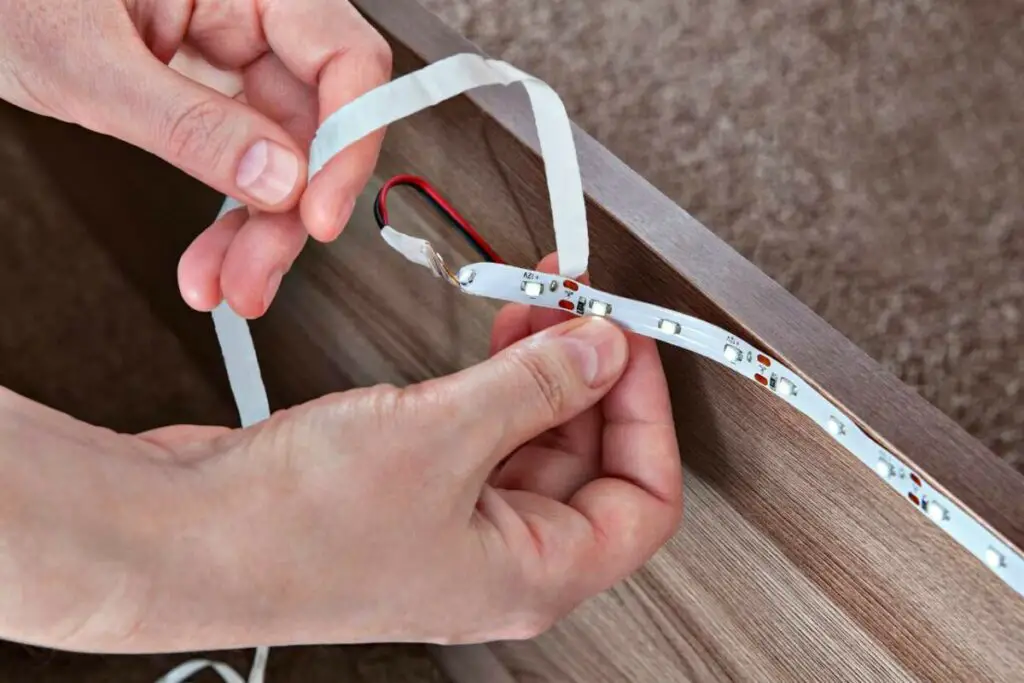
STEP 4: Paste the LED Strip Lights
Once the wall is free of dust, carefully paste the fixed LED strip lights to the installation point using double-sided tape. Ensure the strip is firmly attached and properly aligned.
STEP 5: Plug in the Power
With the LED strip securely in place, use the light connector to connect the strip to an adapter. Pay attention to the positive and negative polarities, ensuring they match correctly. Once everything is connected, your LED light strip should be beautifully illuminated!
Testing LED Strip Lights After Repairing
Your LED strip lights should work fine if you have correctly connected the color connectors. However, if you’re unsure or want to confirm the fix, you can use a multimeter to test their operations.
To test LED strip lights after repairing, follow these steps:
- Set the multimeter to diode testing mode.
- Connect the black probe of the multimeter to the negative terminal of your LED strip and the red probe to the positive terminal.
- Connect the probes to the multimeter’s appropriate outputs (red to voltage or resistance output, black to COM output).
- The LED strip should light up if the connections are correct. If it doesn’t, double-check the four connectors’ alignment.
Fixing Cut LED Lights Without an Adapter
If you’ve cut the length of your LED strip and want to use it elsewhere but don’t have an adapter, don’t worry. You can easily solve this problem by acquiring an adapter and a connector for the light or using extras from your electric supplies.
Simply take your properly cut LED strip and connect it to the LED driver, ensuring correct polarity. Finally, plug in the adapter and use the controller to enjoy the beautiful light.
Fixing Ripped LED Strip Lights Without Soldering
Soldering isn’t always necessary to fix LED strip lights of different colors. If you don’t have a soldering iron, you can rely on 4-pin connectors to simplify the process. Just make sure to get connectors that match the strip’s size.
To fix ripped LED strip lights without soldering, follow these steps:
- Cut the strip at the marked spot.
- Connect the 4-pin connector, aligning the color and voltage marks.
- Attach the second strip to the other side of the connector, ensuring the color and voltage marks match.
- Plug the LED strip into a power supply, and enjoy your newly restored lighting!
FAQs: How to Fix Cut LED Lights
How do you put cut LED lights back together?
To put cut LED lights back together, you can either solder the wires together for a secure connection or use LED strip connectors, which provide a convenient and solder-free solution.
How do you fix a ripped LED?
To fix a ripped LED, you must identify the damaged section and reconnect the severed parts using either soldering or LED strip connectors. Ensure proper alignment of the positive and negative terminals.
What happens if you cut LED lights in the wrong place?
Cutting LED lights in the wrong place can disrupt the electrical circuit, causing the lights to stop working beyond the cut point. In such cases, you’ll need to replace the damaged section or the entire strip.
How do you connect LED lights that have been cut?
To connect LED lights that have been cut, identify the positive and negative terminals, clean the cut ends, and either solder them together or use LED strip connectors. Ensure proper alignment of the connectors’ positive and negative terminals.
How do you fix a cut LED light without soldering it?
To fix a cut LED light without soldering, use LED strip connectors designed for this purpose. Choose the appropriate connector type that matches your LED strip’s specifications.
How do you fix LED lights when half is a different color?
When half of the LED lights have a different color, it may indicate a circuitry or wiring problem. Check the connections, ensure proper wiring, and verify that the LED chips are of the same type and quality. If all else fails, consider replacing the affected section or seeking professional help.
How to fix the LED light connector?
To fix an LED light connector:
- Inspect the connector for any visible damage, such as bent or broken pins.
- Straighten any damaged pins using small pliers or a similar tool.
- Ensure the connector and LED strip are clean and free of debris.
- Reconnect the connector to the LED strip, aligning the positive and negative terminals properly.
- Secure the connector firmly to ensure a reliable connection.
How to fix LED strip lights that won’t turn on?
If your LED strip lights won’t turn on, there are several possible causes to consider:
- Check the power source and make sure it’s functioning correctly.
- Inspect the connections between the power supply, LED controller (if applicable), and the LED strip.
- Confirm that the LED strip receives power by checking the voltage at the connection points.
- If everything seems to be in order, the LED strip itself may be faulty and require replacement or professional help.
Conclusion: Easily Fix Your Cut LED Lights at Home!
LED strip lights bring brightness and aesthetics to our homes. And now, armed with the knowledge of how to repair cut LED lights, you can confidently tackle any mishaps.
Don’t let accidental cuts dampen your spirits! Follow the steps outlined in this guide, even if you’re not tech-savvy, and bring your LED strip lights back to their full glory.
So go ahead, fix those cut LED lights, and complete your lighting project to create an even more dazzling atmosphere in your room.
>>> Read more:
Üzenőfal
Még nem írt senki az üzenőfalára. Legyél Te az első!